


![]()
Quick Start Tutorial Part1
Quick Start Tutorial Part2
Quick Start Tutorial Part3
Quick Start Tutorial Part4
User Tutorials
Realistic Hairstyling
Screen Capture Videos by Users

Long Hair Modeling
Bun Modeling
Sheep Fur Modeling
Quick Start Tutorial Part1
This quick start tutorial is designed to introduce the basic concepts in Hair Farm for 3dsmax. We will begin with HairMesh editing, and then we will briefly go over hair generation and styling. Finally, we will take a look at hair material editing and rendering.
This tutorial was prepared with an earlier version of the software. Don't be alarmed if some parameter values specified in the tutorial do not behave exactly as shown in the figures.
Part 1: Hair Mesh Editing
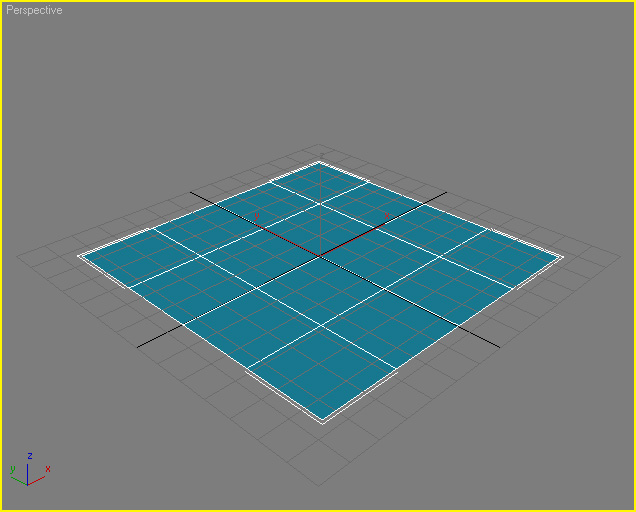
We begin with an empty scene. We first need to create an object to grow hairs on. The generated hair roots will be attached to this object. For this reason we will refer to this object as the root object. For the sake of simplicity let's begin with a plane. Create a plane in the perspective viewport as shown below. Click on F4 to see edged faces.
The first thing we need to do to begin modeling hair is to create a HairMesh. We do this by adding a HairMesh Edit modifier. Go ahead and switch to the Modify Command Panel and add a HairMesh Edit modifier. You can also create modifiers using Hair Farm menu or the Hair Farm toolbar. You will notice that HairMesh Edit modifier is very similar to Edit Poly modifier.
When you generate HairMesh Edit, Hair Farm automatically adds a Hair Display WSM that primarily handles viewport display related tasks of the hair mesh. The aim of hair mesh editing is to model the outer surface of the hair geometry. The hair mesh is not intended for modeling the details; it should be used for modeling a rough volume to generate hairs in.
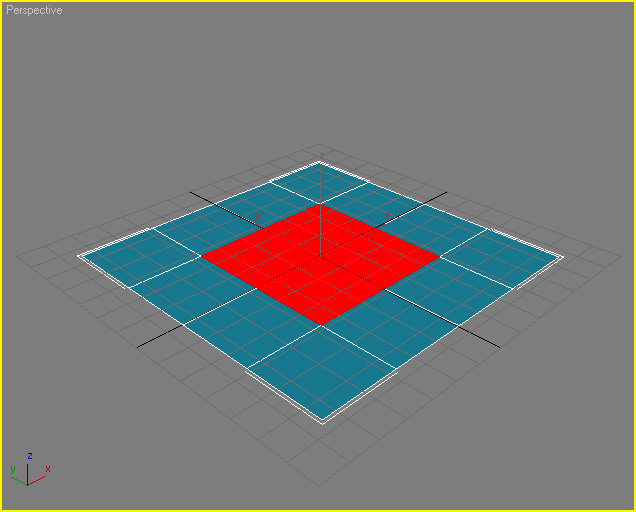
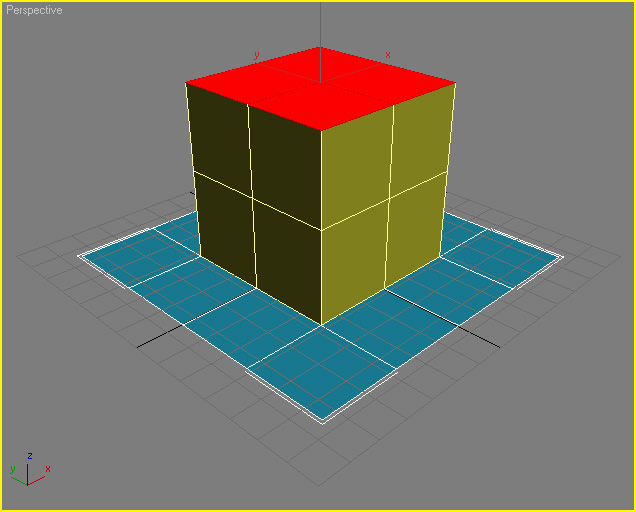
HairMesh modeling always begins with extrusion. On the selection rollout click the Face selection button and select the four center faces of the plane.
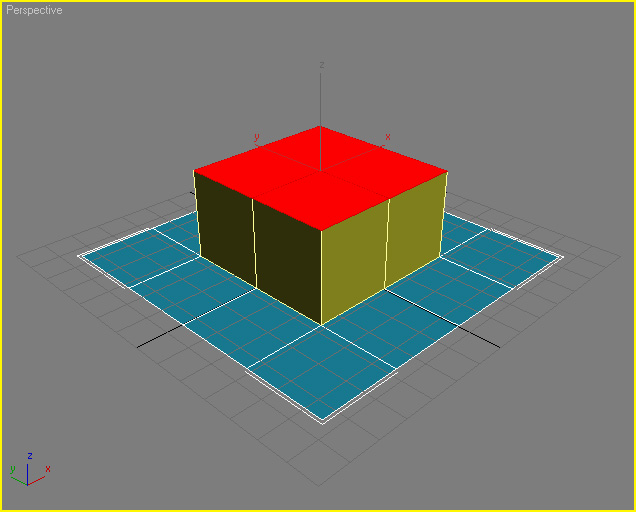
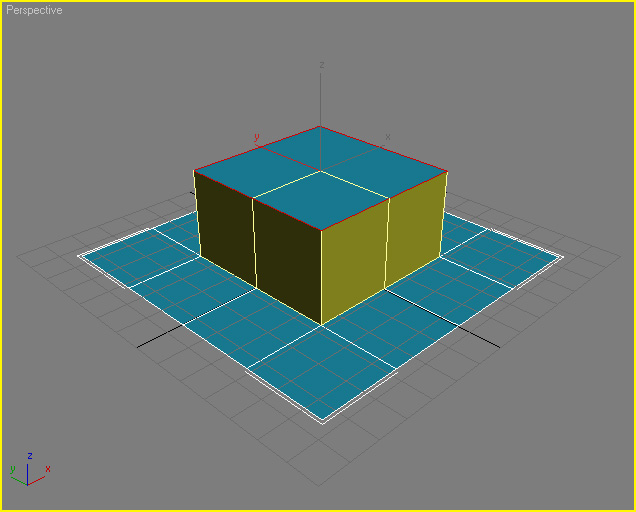
Once you activate face selection, you should notice that a number of buttons on the Edit rollout gets enabled. Click on the Extrude button to activate extrusion command mode. Then, left click on the selected faces and drag to extrude faces.

This looks identical to a normal face extrusion. However, what happened here is quite different. We did not actually change the surface of the plane, but we extruded a box shaped hair mesh. You should notice that the color of the side faces of this extrusion is different from color of the plane. HairMesh Edit modifier will not allow you to select these side faces.
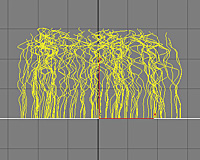
To better understand what happened, let's generate hairs from this hair mesh. Right click anywhere on the active viewport to exit extrusion command mode, and click on the face selection button to exit face selection. Then, add a Hair Generate modifier on top of this HairMesh Edit modifier.
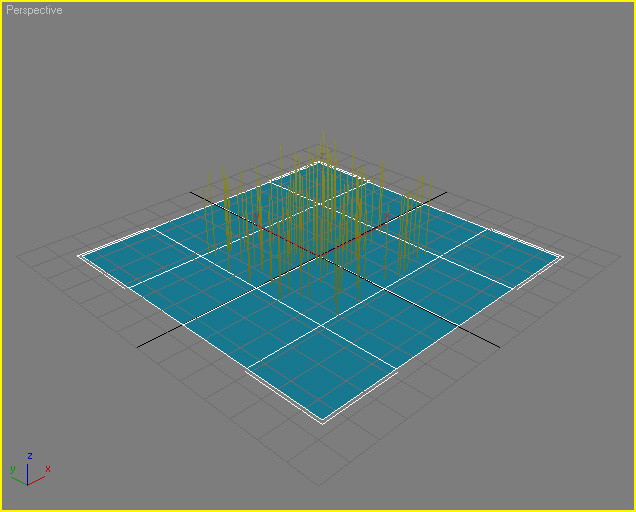
What Hair Generate modifier does is that it converts the existing hair mesh to a collection of straight strands. In this case we generated straight hairs inside the box that we extruded before. As you can see, the plane object has not changed; we only added hairs coming out of the four middle faces.
Let's go ahead and remove the Hair Generate modifier from the stack for now. We will add it back again later, once we finish modeling our hair mesh.
Go back to the HairMesh Edit modifier and activate face selection again and select the four faces that we previously extruded. We call these faces tip faces since they correspond to the tips of the generated hair strands.
Then, activate the Extrude command mode and extrude these faces one more layer.
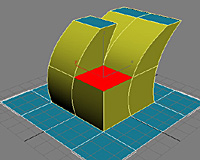
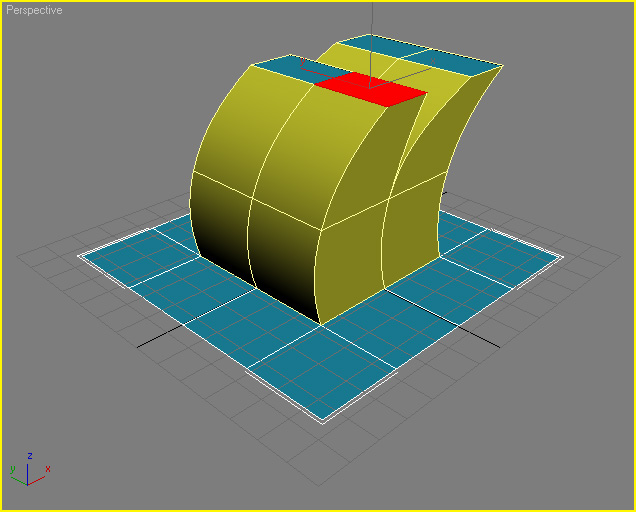
Now, right click anywhere on the viewport to exit extrusion command mode and select move command mode from the toolbar (or by pressing W key). Then, move these top four faces to one side as shown below.
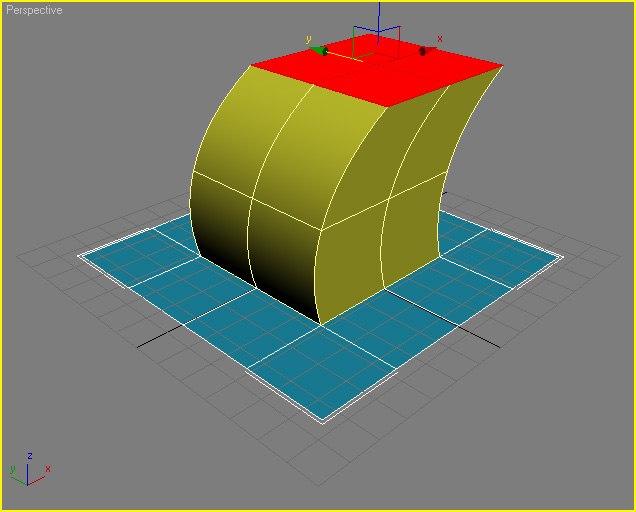
As you can see, side faces bend to form curves. When we generate hairs from this hair mesh, they will follow these curves. You can continue extruding the tip faces or the faces of the root object that are not previously extruded.
Now, switch to the Edge selection mode and select the two edges of the tip faces as shown below.
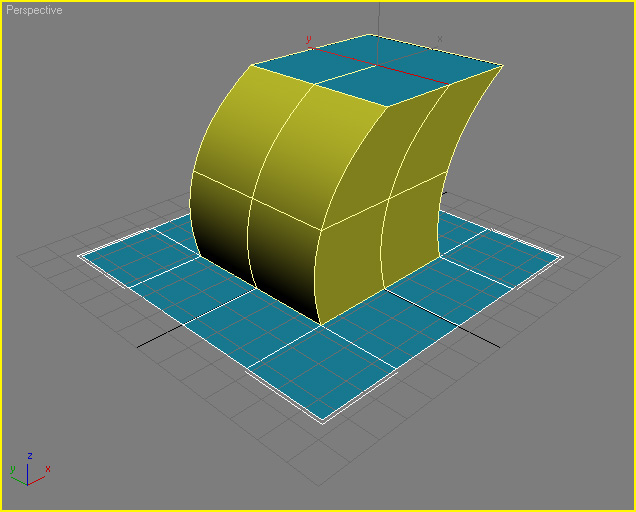
Then, click on the Separate button on the Edit rollout to activate separation command mode. Then, click on one of the selected edges and drag upwards to separate the faces of these edges.
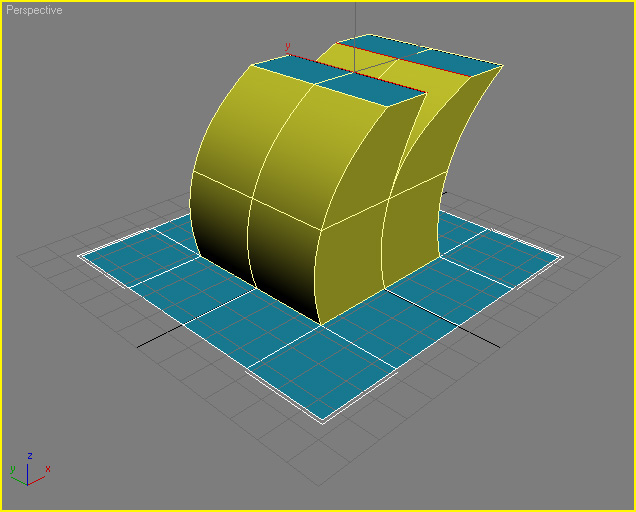
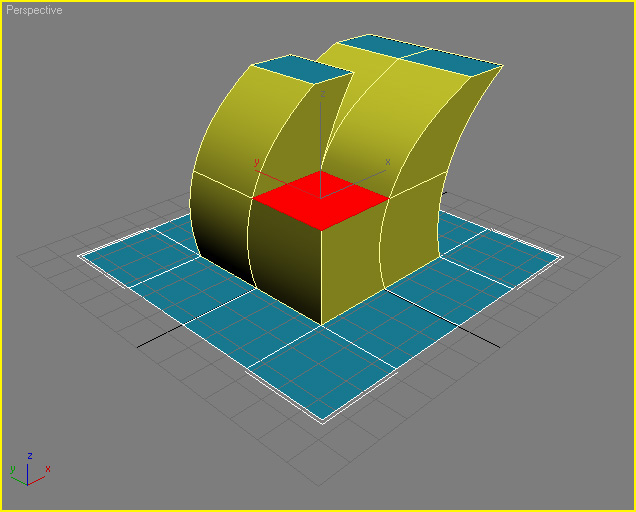
Switch to Face selection and select one of the tip faces as shown below.
Then, click on the Delete button on the Edit rollout. The Delete command only deletes one layer of the selected faces. You can think of the Delete command as the opposite of the Extrude command.
Switch back to the Edge selection and select the two facing tip edges as shown below.
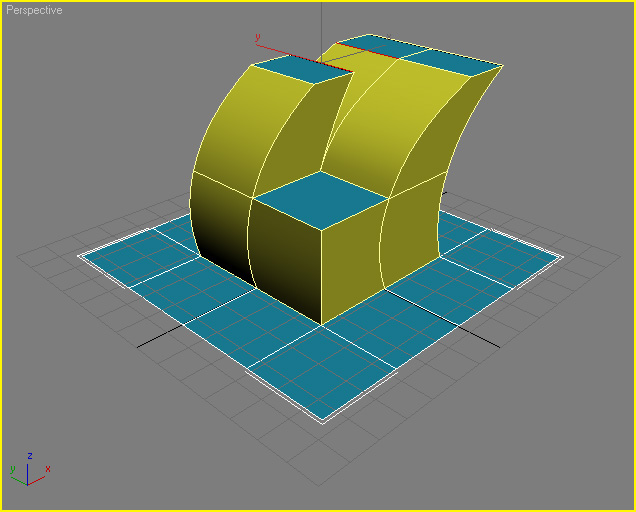
Then, click on the Weld button on the Edit rollout to connect these edges. Note that the Weld operation works slightly different with hair meshes. It does not connect any arbitrary selection of edges; it only connects edges of the neighboring faces.

Now, switch to Layer selection and click on one of the tip edges to select the whole layer as shown below.
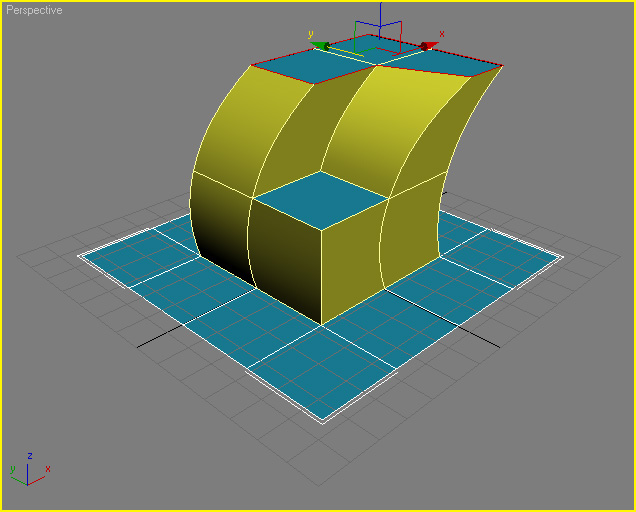
The Layer selection mode allows you to Remove the layer or add extra layers using the Refine command mode. While in Layer selection mode, you can click on any horizontal edge on the side faces to select the whole layer. Go ahead and click on the Remove button on the Edit rollout to remove the whole layer.

This brings us back to our old box shape. Layer selection can be used for selecting any layer of the hair mesh, not just the tip layer. While still in Layer selection mode, click on one of the tip edges to select the whole tip layer.
Then, click on the Refine button on the Edit rollout, and click on one of the selected edges, and drag upwards to add an extra layer.

Using the Refine command mode you can add as many layers as you need in between two existing layers. It is a good practice to keep the number of layers to a minimum, and the distance between layers as equal as possible.
Just like the Edit Poly modifier, you can add multiple HairMesh Edit modifiers on top of each other. Use HairMesh Smooth modifier to increase the resolution of the root object and the hair mesh. DO NOT use Mesh Smooth or Turbo Smooth modifiers, or other modifiers that change the topology of the root object on top of HairMesh Edit. However, you can use those modifiers below HairMesh Edit on the modifier stack. You can also use these modifiers on top of the Hair Generate modifier, after hair mesh editing is finished and the hair mesh is converted to actual hairs. Do not delete or divide faces of the root object that are used by the hair mesh before you generate hairs using the Hair Generate modifier.
This concludes the hair mesh editing part of the quick start tutorial. In the next part we will take a look at hair generation and hair styling.


