


![]()
Quick Start Tutorial Part1
Quick Start Tutorial Part2
Quick Start Tutorial Part3
Quick Start Tutorial Part4
User Tutorials
Realistic Hairstyling
Screen Capture Videos by Users
Long Hair Modeling
Bun Modeling
Sheep Fur Modeling
Quick Start Tutorial Part2
<< Back to Section 1: HairMesh Editing
Part 2: Hair Generation and Styling
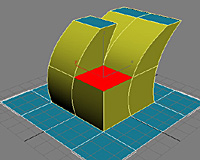
In this part we will see how hair is generated and styled. Exit the sub-object selection mode if you haven't already, then add a Hair Generate modifier.
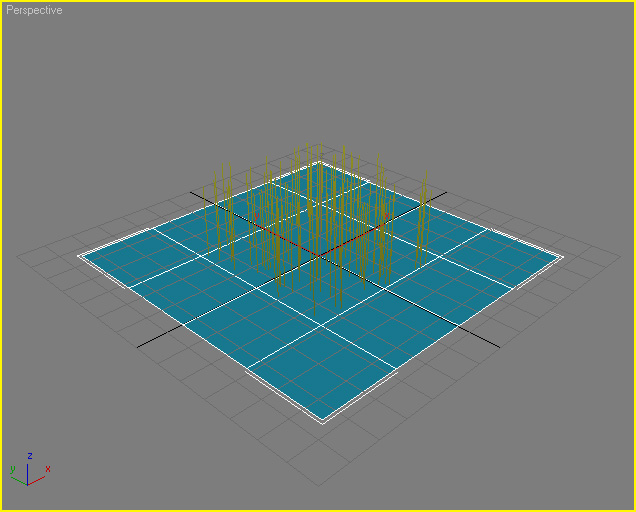
The Hair Generate modifier generates straight hairs coming out of the root faces towards the tip faces. You can control the number of hairs and basic hair properties here, as well as assign a hair material. Note that most parameters of this modifier are mappable.
By default, the hairs that you see in the viewport are only a percentage of the hairs that will be generated at render time. You can adjust this percentage in the Viewport Display rollout.
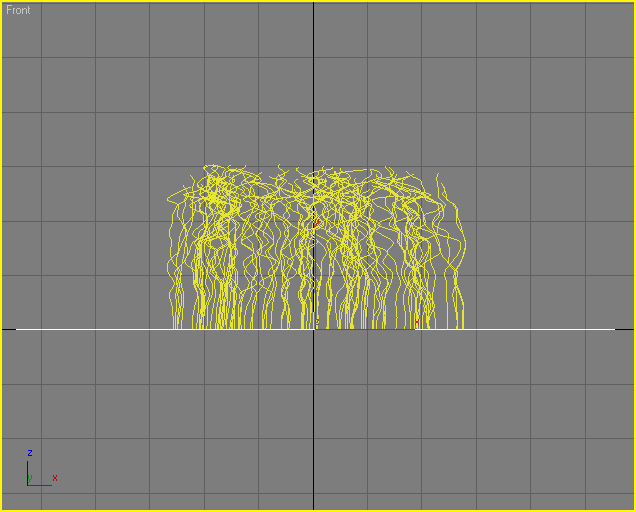
Once the hairs are generated, we can use different styling modifiers to change the shape of the individual hair strands. Let's begin with adding a HairStyle Frizz modifier. After you add the HairStyle Frizz modifier, increase the Amount parameter to 20. You should see the tip points of hairs point in different directions.
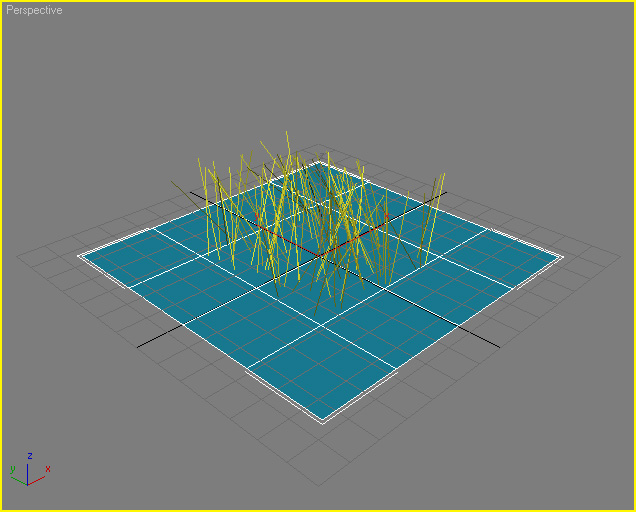
The uniformity of frizz directions is determined by the parameters in the Noise rollout. Internal noise is selected by default. Decrease the Frequency parameter of the internal noise to a value around 1.0.
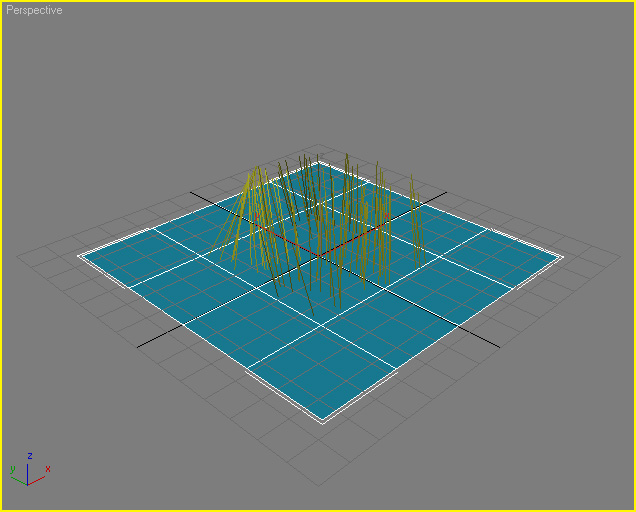
When using styling modifiers like HairStyle Frizz you would typically want the hair strands to bend rather than being straight lines. We can accomplish this by adjusting the Amount Curve. Click on the root -> tip button next to the Amount Curve parameter on the Amount rollout. This will show the Root to Tip Amount Curve window. Add a new point around the middle of this curve; then, move it as shown below.
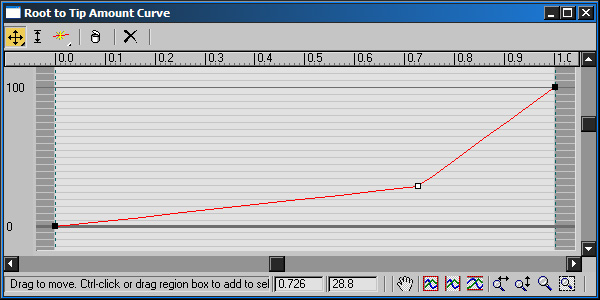
Changing this curve changes the amount of frizz along the hair strand. The hair strands roughly follow the shape of this curve.
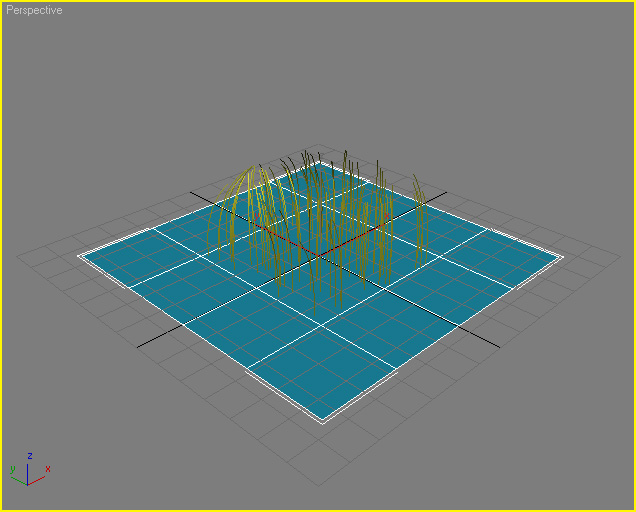
Note that the hairs bend smoothly even though the curve is not smooth. This is because styling operations only affect hair vertices, not the entire hair curve. To understand this concept better, let's add another point to the curve. Add another point between the first and the second one as shown below.
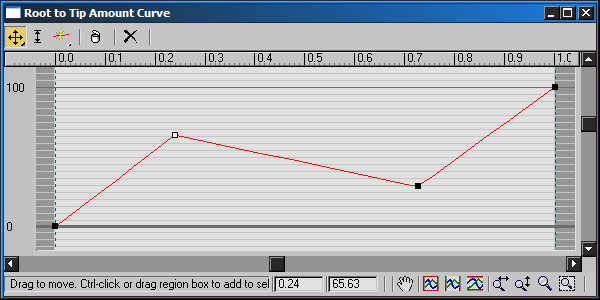
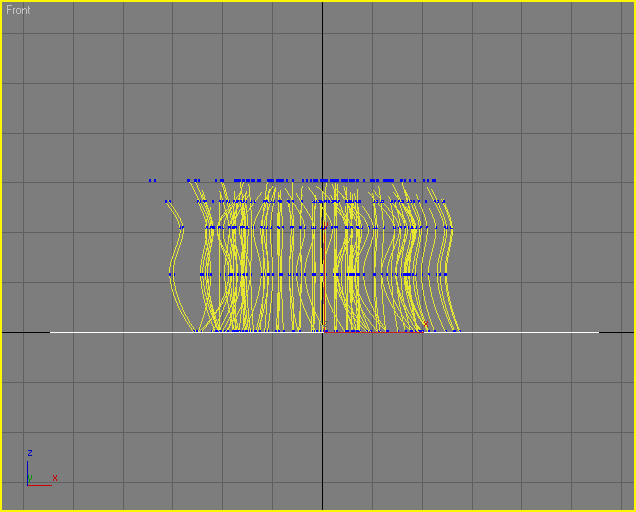
Notice that this almost didn't change the shape of the hairs at all, because we don't have a large enough number of vertices on the hair strands to represent such a curve. To see the hair vertices go to the Subdivision rollout and check the Show checkbox. Now you can see the vertices of hairs in the viewport. If you look at the front viewport, you will see that hair vertices are placed on a straight line (in fact, they are on a plane).

The placement of the hair vertices corresponds to HairMesh layer positions. Since we only have two layers defined in our HairMesh, each hair strand has two vertices (in addition to the root vertex). During hair styling we often need more vertices to shape the details of the hair model. We can add more vertices here by increasing the Additional Steps parameter on the Subdivision rollout. When you increase this parameter from zero to one, you will end up having four vertices on each hair strand, which can now represent the S shaped curve.
HairStyle Frizz modifier computes a direction at the root of each hair strand using the noise parameters, and applies the same direction along the hair strand. On the other hand, HairStyle Kink modifier computes a different direction on each hair vertex, giving hairs a kinky appearance.
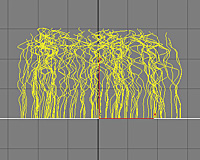
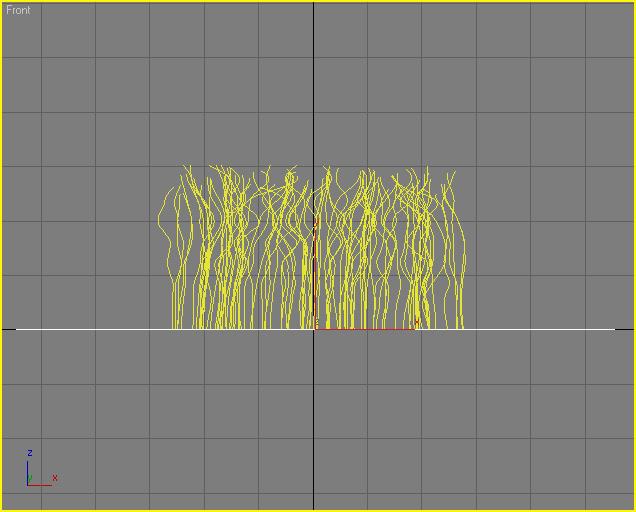
Now let's remove the HairStyle Frizz modifier from the stack and add a HairStyle Kink modifier instead. Notice that the parameters of these two modifiers are identical, while their behavior is different. Set the Amount parameter to 5.0 and Additional Steps to 10 to get the result shown below.
In Hair Farm, the direction in which the hair strands grow is represented by the W coordinate of the UVW channels. In the next section we will see how to use the W direction to assign different colors to the roots and the tips of hair strands. Here, we will use the W coordinate to change the kinkiness along the hair direction.
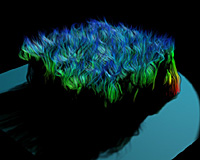
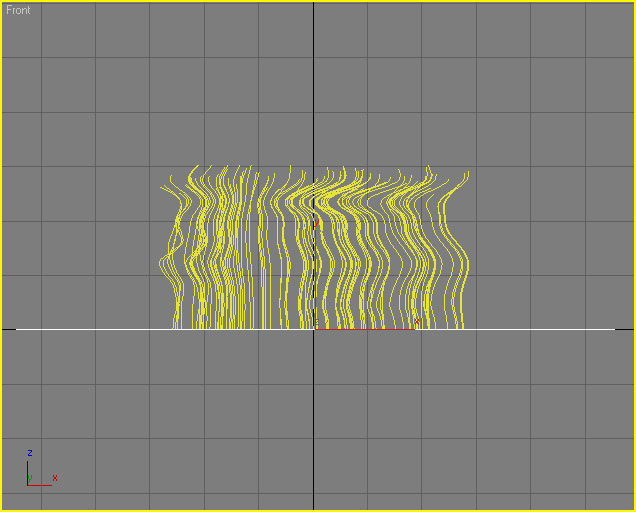
On the Noise rollout make sure that Internal Noise is selected. In the Internal Noise Parameters make sure that the UVW channel is 1; then, decrease the W scale to 0.3. You will see that decreasing this parameter softens the curves along the hair length.
While W controls the size of the noise along the hair length, U and V control the distribution of the noise on the plane. This is very similar to UVW parameters of texture maps. Now, set the U and V scales to 0.1. This will cause neighboring hair strands to deform in a similar fashion, resembling one another.
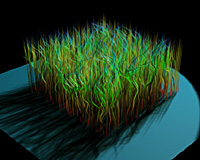
Changing the Frequency parameter of the internal noise is the same as changing all U, V, and W scales at once. Before moving on to the next section, change the U and V scales back to 1.0.
Hair Farm has a number of different styling modifiers. You can use these styling modifiers in any order you want to get the desired effect. You can also use multiple copies of the same modifier to achieve different results.
Now that you are familiar with the basic concepts of hair styling, we can move on to hair material editing and rendering part of this tutorial.


