


![]()
Quick Start Tutorial Part1
Quick Start Tutorial Part2
Quick Start Tutorial Part3
Quick Start Tutorial Part4
User Tutorials
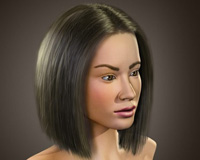
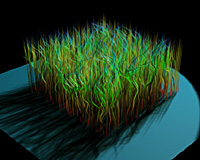
Realistic Hairstyling
Screen Capture Videos by Users
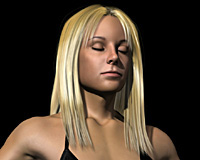

Long Hair Modeling
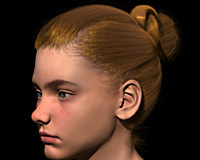
Bun Modeling
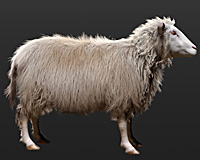
Sheep Fur Modeling
Quick Start Tutorial Part4
<< Back to Part 3: Hair Material Editing and Rendering
Part 4: Final Notes
The last topic we will cover in this tutorial is using multiple Hair Generate modifiers with the same Hair Mesh. You will see that this is a very powerful feature to achieve realistic hair models.
Select the plane object if it's not already selected and go to the Hair Generate modifier properties. Decrease the Hair Count value to 1000, and on the Viewport Display rollout set the Percentage value to 20 (so that we can still see some hairs in the viewport). Render the perspective view to see the result.
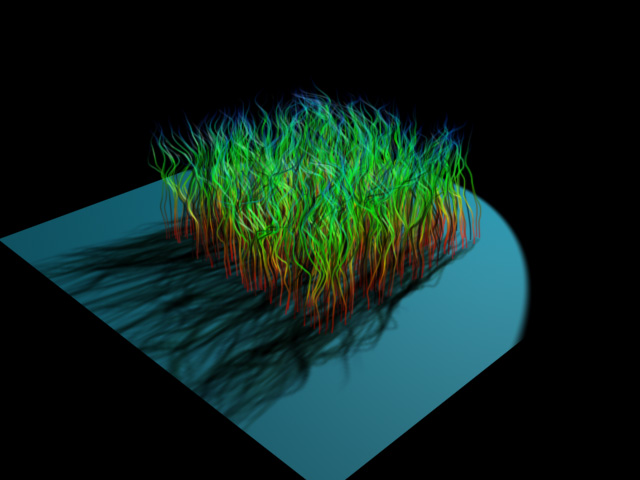
Now we will add new hairs among these. Click on the HairStyle Kink modifier, and then add a new Hair Generate modifier on top of it. Set the Hair Count to 1000, Percentage to 20, and render the perspective viewport again.
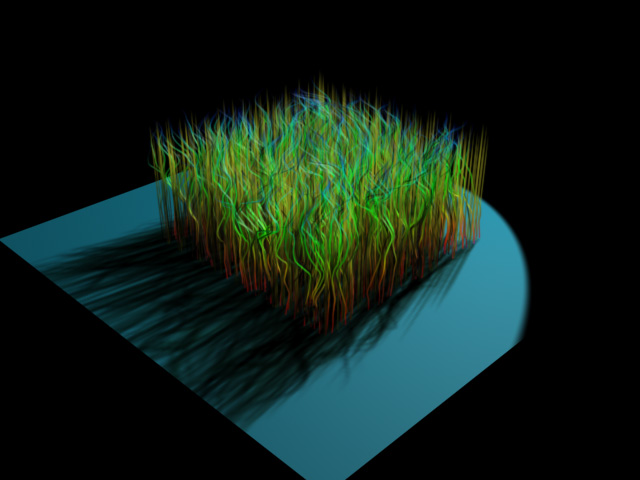
As you can see, new hair strands are generated, and these new strands are not affected by the previously generated hair strands or the HairStyle Kink modifier. They merely use the same HairMesh, but they are completely independent in every other way.
To see this better, let's add a HairStyle Frizz modifier on top of this last Hair Generate modifier. By changing the Amount parameter and Amount Curve, you will see that this HairSytle Frizz modifier does not affect the previously generated hairs. If you'd like a styling modifier to affect both of them, you can do so by turning on Apply to All Hair Groups on the Apply To rollout of the HairStyle modifier.
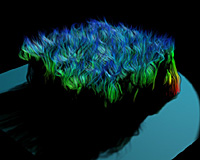
By using this feature, you can combine as many different hairstyles as you like to achieve a realistic look. You can also assign different hair materials to each Hair Generate modifier to give each hair group a different color as well as a different style.
This concludes the quick start tutorial. Now you are ready to create your own hair models!
Have fun using Hair Farm!


